How to Plant a Balcony Flower Box Step by Step
A step-by-step planting guide for a long planter: checking drainage, filling with moist potting mix, spacing tall, mounding and trailing plants, and early aftercare.
At a glance
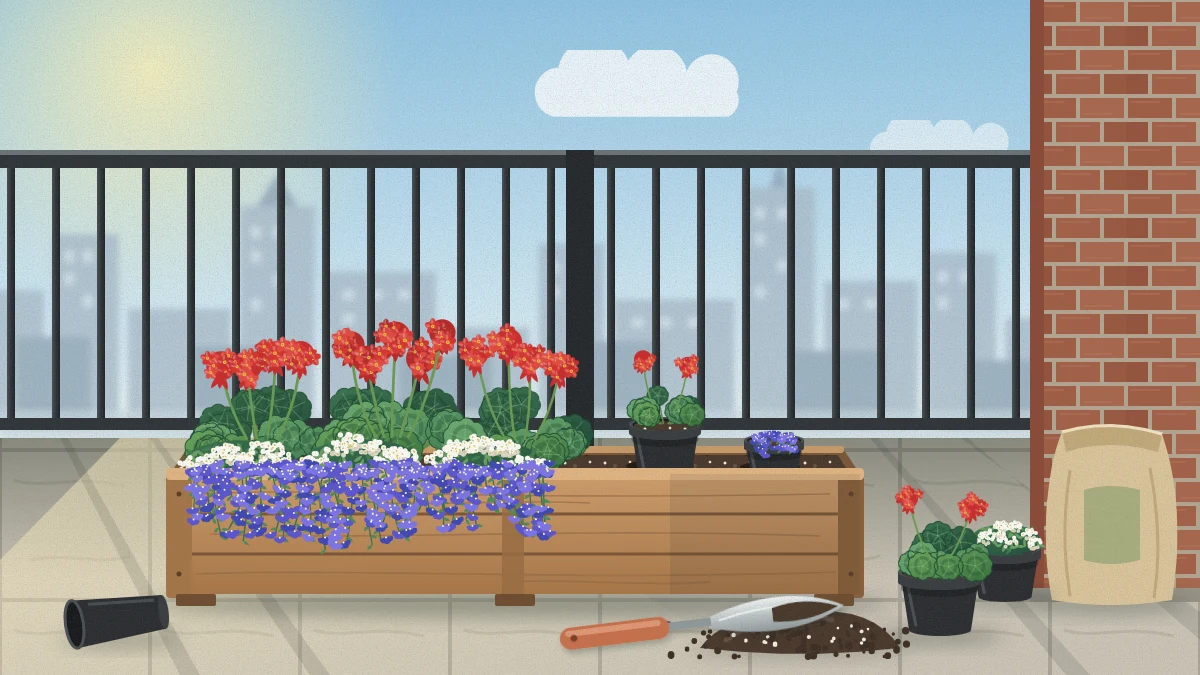
What you need
- Flower box or trough with drainage holes
- Potting mix
- Young flowering plants
- Mesh or screen for large holes
- Hand trowel
- Tub for moistening mix
- Watering can
A long planter gives you the look of a small flower bed in the footprint of a shoe rack. Planting a balcony flower box well takes less than an hour, and most of the difference between a box that thrives and one that struggles comes down to a few details at planting time: drainage, spacing and depth.
This walkthrough is for a rectangular box or trough that stands on the floor, on a stable stand, or in a holder made for it. Choose your plants first, so that everything in the box wants the same light and similar watering.
Decide where the box will live before you fill it
A planted, watered box is heavy and awkward to lift, and carrying one is an easy way to strain your back or drop it. Put the empty box in its final position and fill it there.
The simplest spot is the floor, against the inside of the railing or a wall, raised slightly on pot feet so water can escape. A sturdy, level stand brings the flowers up to where you can see them from indoors. Wet potting mix, water and mature plants weigh far more than the empty container, so if you plan several large boxes, ask the building management or owner what the balcony is allowed to carry.
Good to know
If the box is going on a railing or a wall, it must be a system designed for that, not a floor box propped in place. Check the building rules or your lease, or ask the landlord, before attaching anything. Use secure mounting made for the purpose, consider the weight of wet mix, water and the container, follow the manufacturer instructions for the planter and its hardware, and keep it on the balcony side of the railing. See the guide to railing planters for the details.
What you need
- A box with drainage holes, at least about 8 in (20 cm) deep and wide if you can, because a larger volume of mix dries more slowly
- Fresh potting mix, not garden soil
- Young plants, watered an hour or so beforehand
- A piece of mesh or screen if the holes are large
- A hand trowel, a tub for moistening the mix and a watering can
- Pot feet or a matching tray, depending on where the water may go
If you are unsure which mix to buy, the guide to potting soil for containers explains what the bag should contain.
Choose and arrange the plants
A box looks fullest with three heights: taller upright plants, mounding plants and trailing plants. Where they go depends on how the box is viewed.
- Seen from one side (against a wall or railing): tall at the back, mounding in the middle, trailing along the front edge.
- Seen from both sides: tall in the center, mounding on either side, trailing at the ends and edges.
Upright geraniums, mounding marigolds or wax begonias and trailing lobelia or calibrachoa are typical choices. For a sunny position, the list of reliable flowers for a sunny balcony gives the habit of each.
Resist packing the box. Young plants look small on planting day and fill out within weeks. Check the plant tag for spread and leave room to grow. Crowded plants compete for water and stay damp at the base.
Plant the box step by step
- Check the drainage holes. Make sure they are open. If a plastic box has none, or only marked spots, open them as the maker directs. The guide to drainage for containers explains why this step cannot be skipped.
- Cover large holes with mesh. A piece of screen keeps mix in and lets water out. Do not add a layer of gravel at the bottom. It takes up root space and does not improve drainage.
- Moisten the potting mix. Tip it into a tub, add water a little at a time and stir until it feels like a wrung-out sponge. Dry mix straight from the bag can shed water.
- Fill the box to a little below the rim and level it without pressing it down hard.
- Test the spacing. Set the plants on the surface, still in their nursery pots, and move them around until the arrangement works.
- Ease each plant out. Tip the pot, support the stem between your fingers and squeeze or tap the pot. Do not pull on the stem. If roots circle the root ball tightly, loosen them gently with your fingers.
- Plant at the same depth. Scoop a hole and set the plant so the top of its root ball sits level with the surrounding mix, no deeper and no higher than it grew in its pot.
- Firm gently and leave a watering gap. Press the mix lightly around each plant to remove large air pockets. The finished surface should sit about 1 in (2.5 cm) below the rim, so water can pool and soak in rather than run off.
- Water slowly along the whole length until water runs from the drainage holes. If the mix settles and exposes roots, top it up.
Tip
If the weather is hot, keep the freshly planted box in light shade for a day or two, or plant in the evening. New transplants cope with sun much better once their roots have taken up water.
The first few weeks
New plants have small root systems, so moisture close to the surface matters at first, while the lower mix may still be wet. Check by pushing a finger about 2 in (5 cm) into the mix in a few places along the box, since the ends often dry before the middle. Water when it feels dry at that depth, and water the mix rather than the flowers.
As the plants grow and the weather warms, the box will dry faster than it did in the first week, so keep checking rather than settling into a fixed routine.
Feeding and deadheading
Many potting mixes include a small starter amount of fertilizer, which is why feeding usually begins a few weeks after planting rather than on day one. Read the bag to see what yours contains. When you do feed, follow the product label for rate and timing, and never use more.
Deadheading keeps many annuals blooming. Once or twice a week, pinch or snip faded flowers just below the bloom, and remove yellowed leaves from the surface of the mix at the same time. If trailing plants turn long and thin in midsummer, trimming them back by about a third often encourages fresh growth.
Frequently asked questions
How many plants should I put in a flower box?
It depends on the length of the box and the mature spread of each plant, which is printed on the plant tag. Set the plants out in their pots first and leave gaps for growth. A box that looks slightly sparse on planting day usually fills in within a few weeks.
Should I put gravel in the bottom of a flower box?
No. A gravel layer takes up space roots could use and does not help water leave the box. What matters is open drainage holes and a good potting mix throughout. If the holes are large, cover them with a piece of mesh or screen so the mix stays in.
Can I put a floor flower box on a balcony railing?
Not unless it is a planter system designed for railings. Ask your landlord or check the lease first, use the holder and fixings supplied for that purpose, follow the maker's instructions and keep the box on the balcony side. A planted, watered box is much heavier than an empty one.